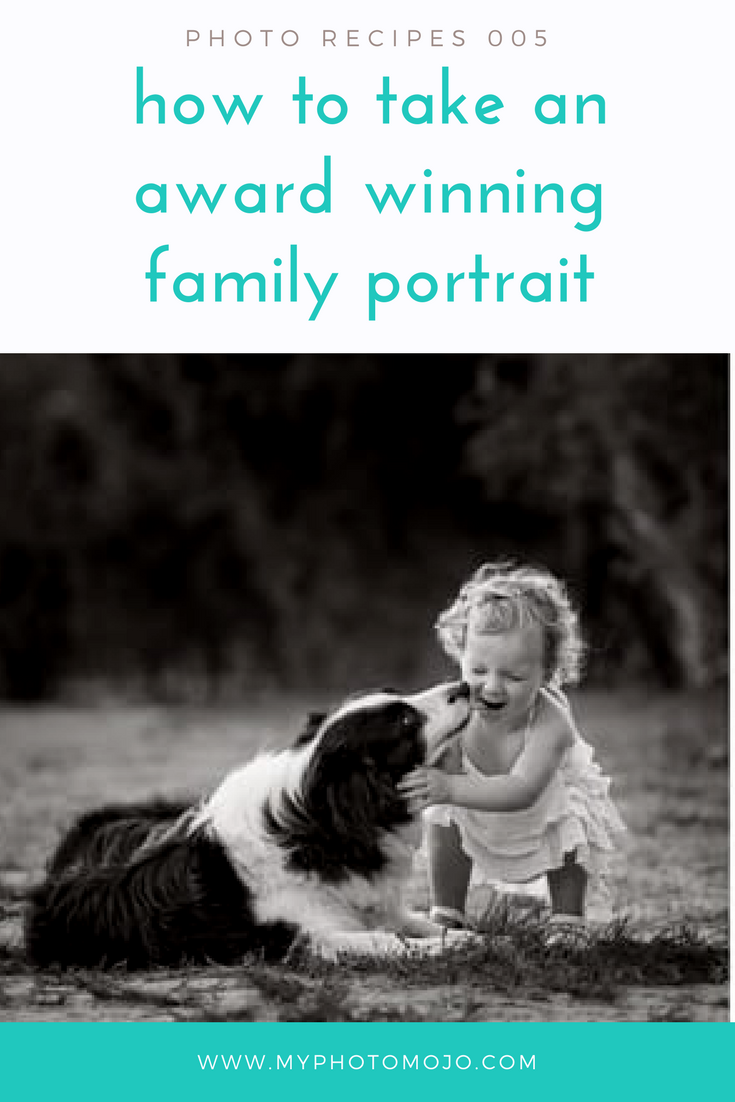
Behind the Scenes | How to take an award winning family portrait
Behind the Scenes | How to take an award winning family portrait
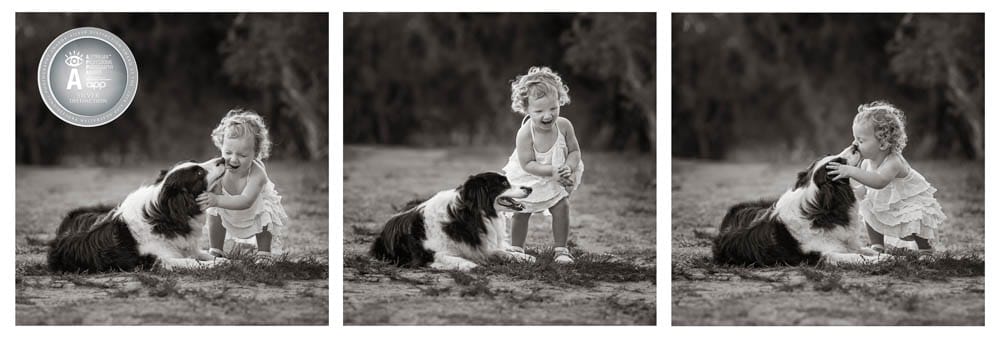
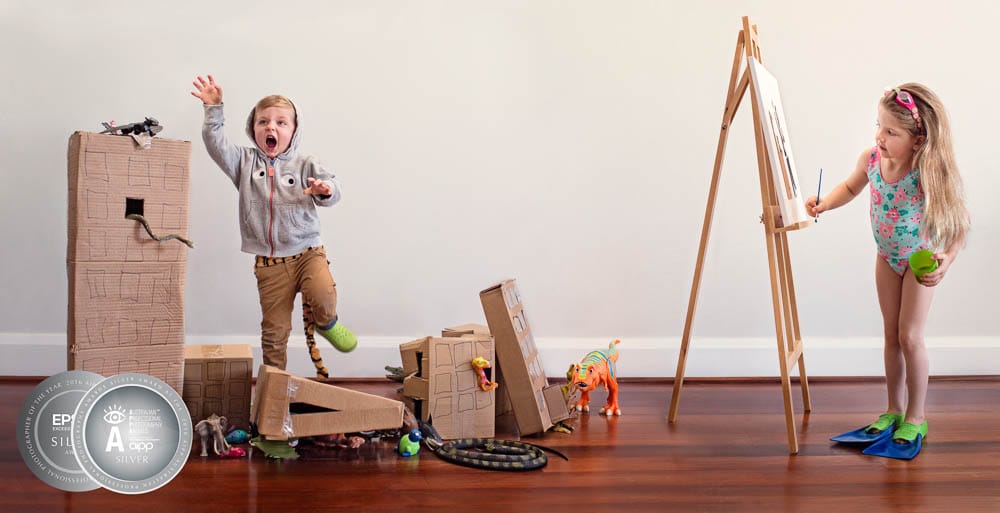
This gorgeous set of images of a little girl and her dog won a silver with distinction award at the recent 2016 Austalian Professional Photography Awards (APPAs). Here’s the inside scoop on how I captured this set.
Time of Day & Location notes
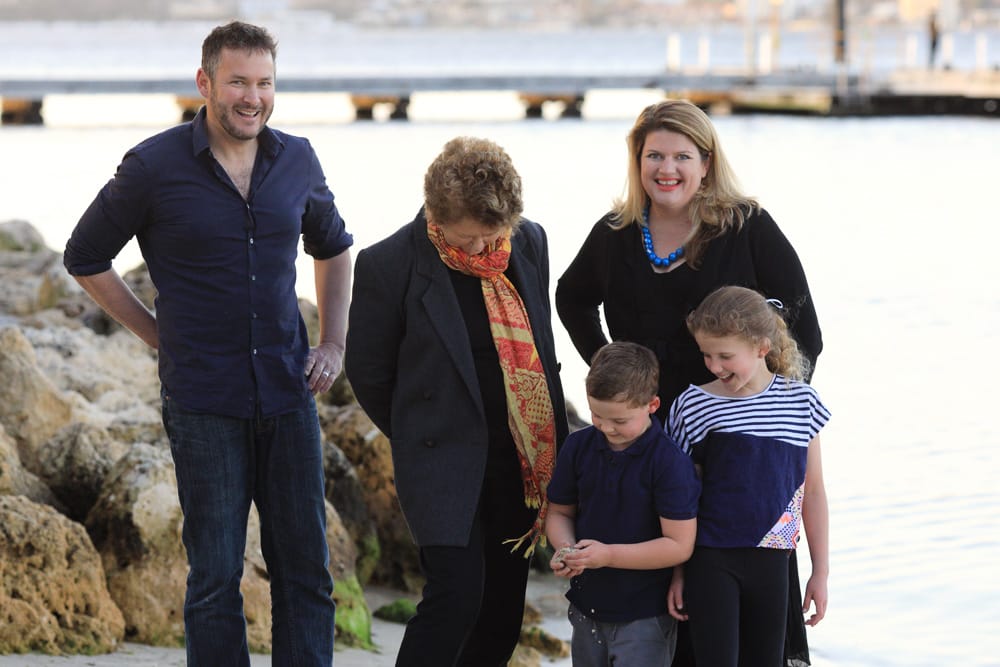
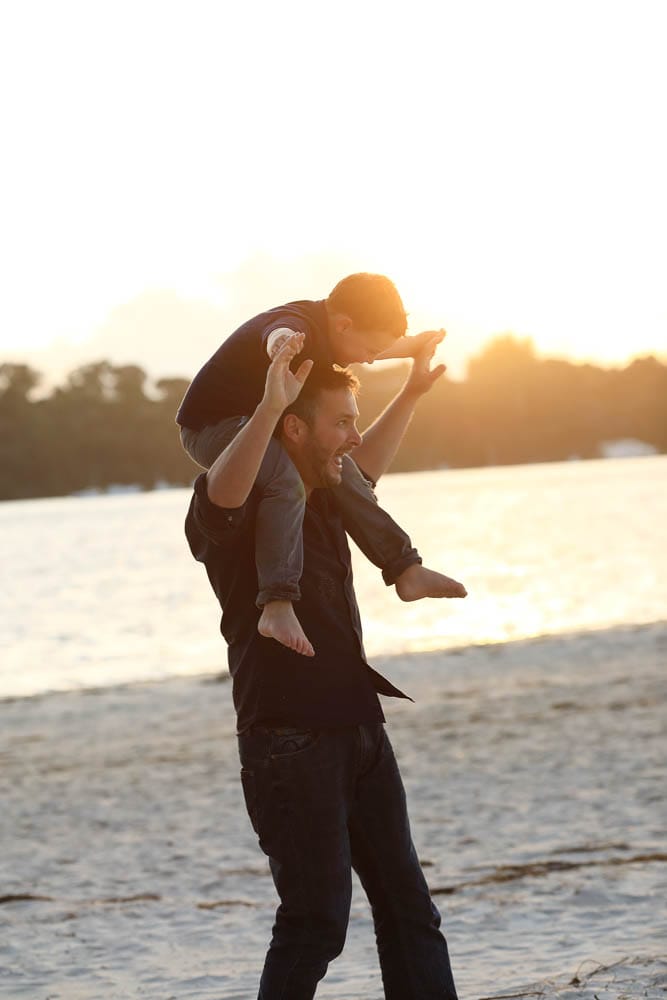
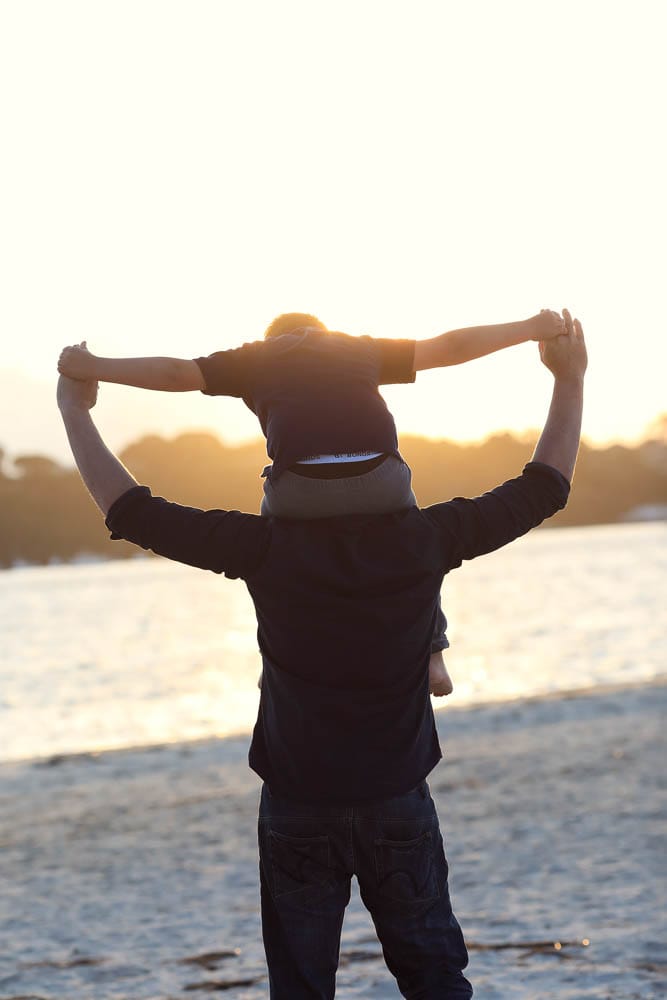
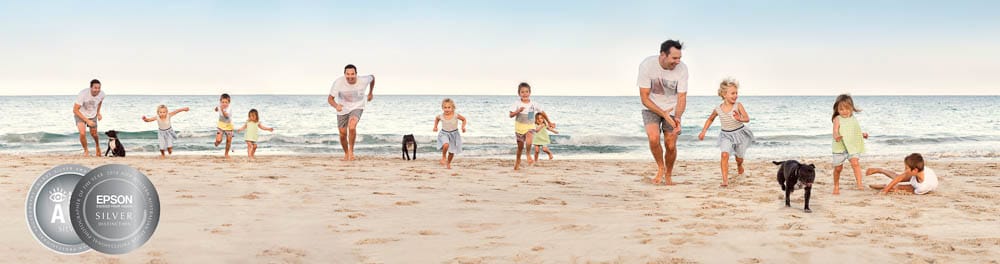
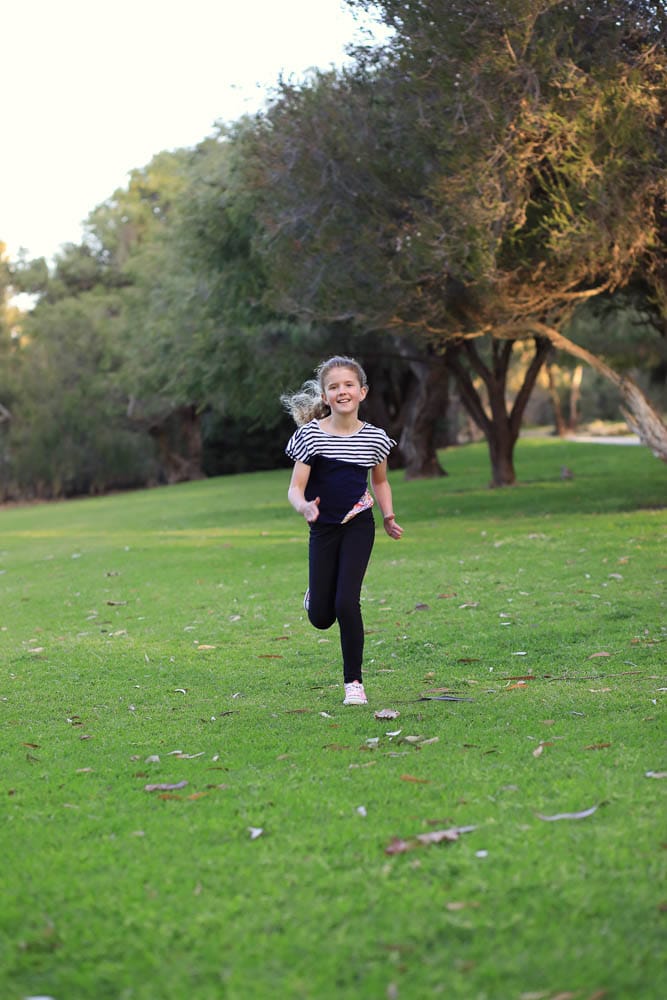
Late in the afternoon in the height of summer, just as the sun was setting behind the trees. I met this family a park local to them, and made sure I positioned myself facing into the setting sun. The girl and her dog were playing on a walkway, that gave a beautiful leading line and framing to the image allow you to focus on what counts. Their beautiful bond.
Setting the scene
This is the kind of image you can’t fake, the parents need to be comfortable with the interaction, the dog needs to be happy and calm, and the little girl needs to be very comfortable with the dog. In other words, it really needs to be her dog, and this needs to be how they play daily. I had a parent just outside of shot and we simply encourage the little girl to play with her dog, and I lay low to the ground capturing the interactions. A few times the Mum and Dad would put dog and little girl back on the spot, but the rest was really up to them. I find the candid nature of these images, while in a carefully selected location and set up is what brings the magic.
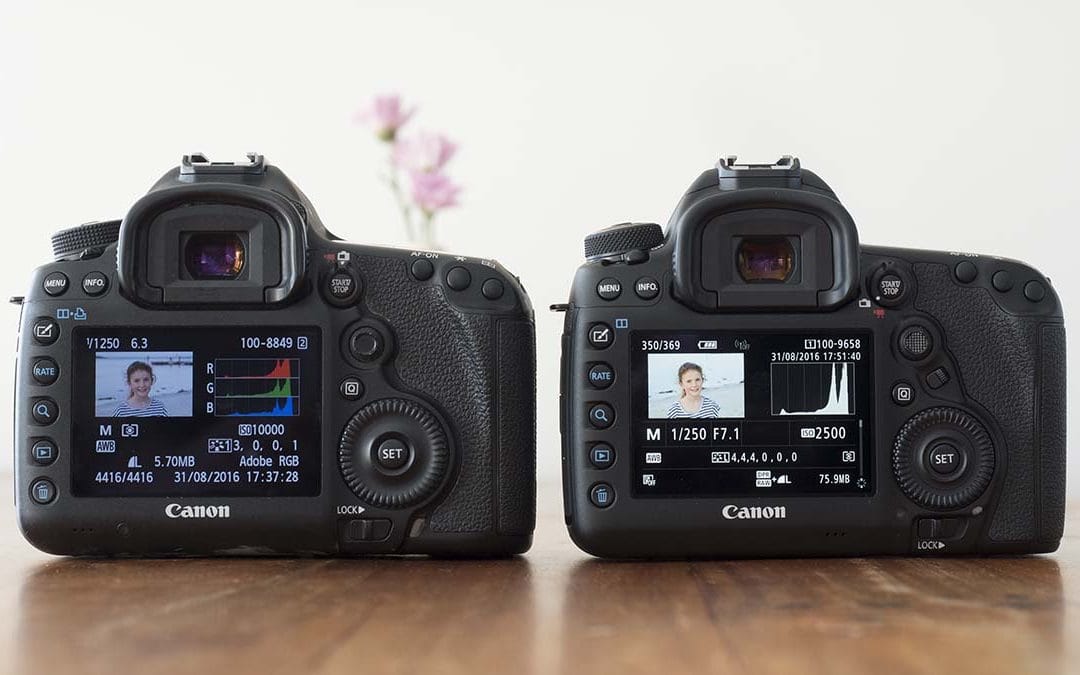
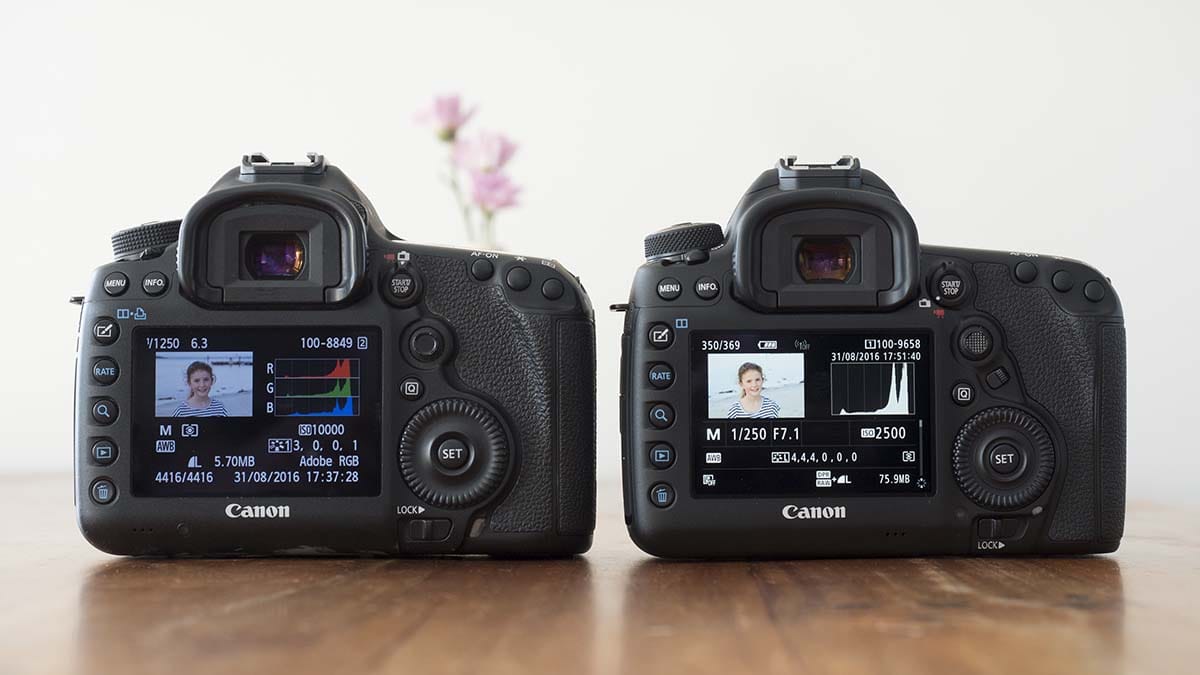
The tech stuff
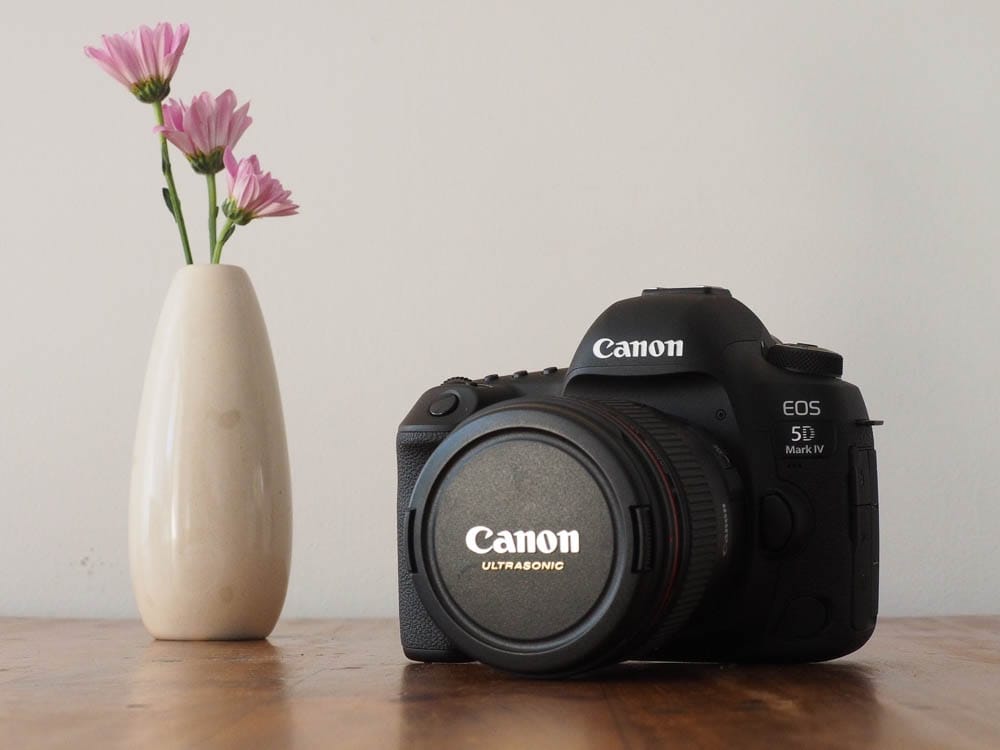
For that gorgeous background blur, I used my 135mm f/2.0L lens, and made sure I was as low to the ground as I could be. I was actually lying on my stomach. The longer the focal length you can use the better to really get your subject to pop. My aperture was f3.2, just in case either of them moved slightly forward or back and the shutter at 1/400, I perhaps could have raised this up a bit to freeze any really fast movements, but luckily in these three images everything was sharp. I then adjusted the ISO to ensure correct exposure (in this case ISO640).
Editing
Images I enter into awards often receive a different level of editing than standard family portraits. These images were edited in Photoshop to remove any distracting elements from the original capture. Bright patches in the background, distracting grass bits etc, and then the edges were darkened to really focus in on the subjects. The black and white conversion the final element, I found removing the colour allowed the focus to be solely where I wanted it to be, on the two adorable subjects.


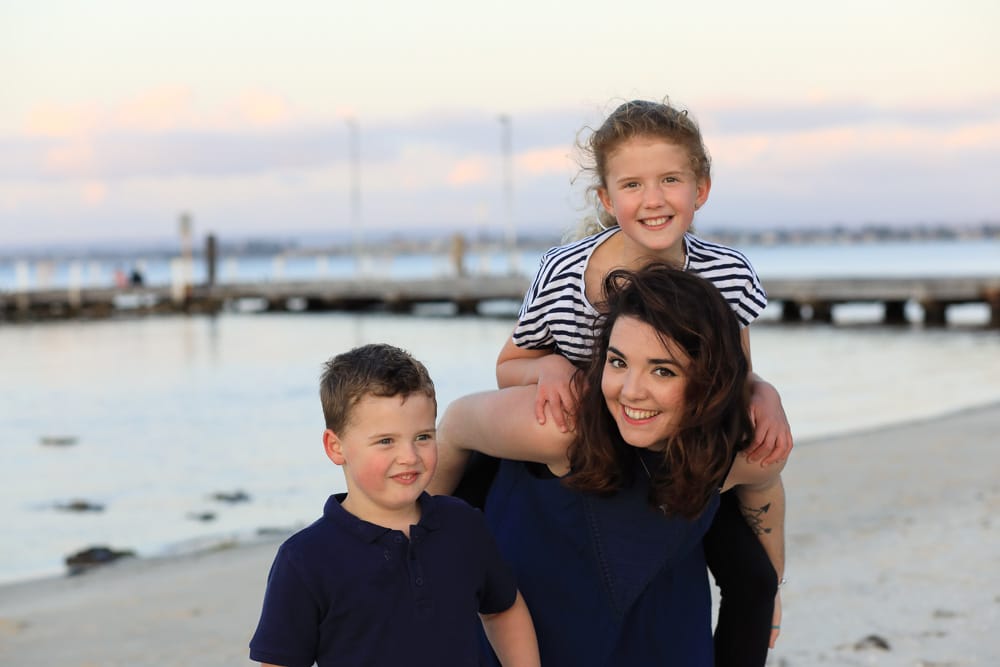
 85mm, f3.2, 1/640, ISO 640")