The nifty fifty – taking it to the next Level!

The nifty fifty – taking it to the next Level!

The nifty fifty – taking it to the next Level!

You have your swanky new DSLR camera with its kit lens, or even two kit lenses – you’ve had a bit of a play around, got to know the camera and it’s features and like many of us before, you’re hooked on photography and now you’re wondering what to buy next. The best advice out there is to invest in “good glass”, a quality lens. The right lens will improve your image quality and failing a catastrophe, outlive your camera body so it’s important to choose the right one.

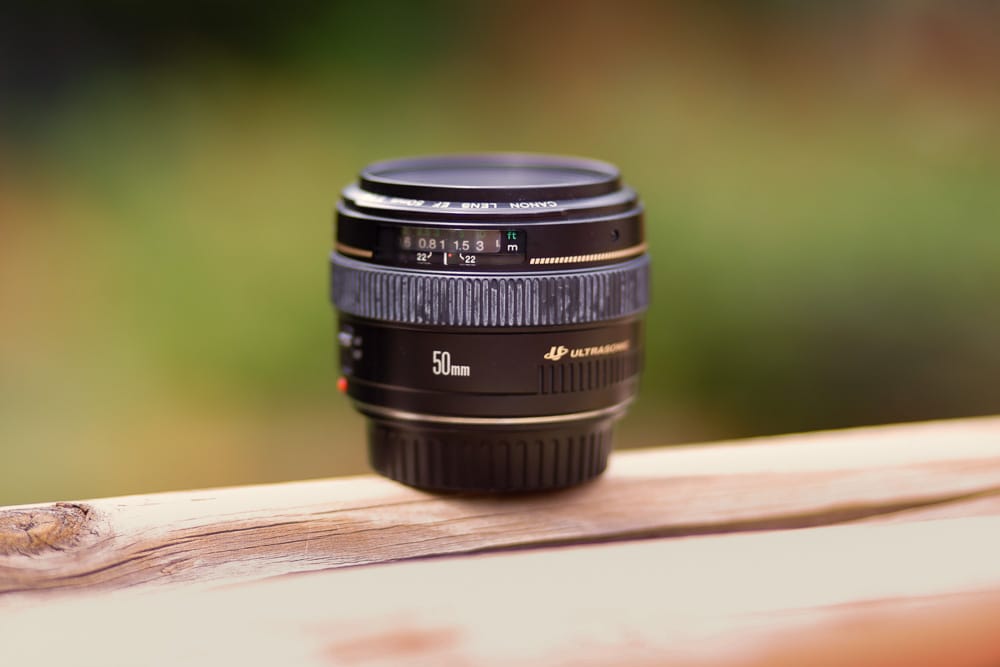
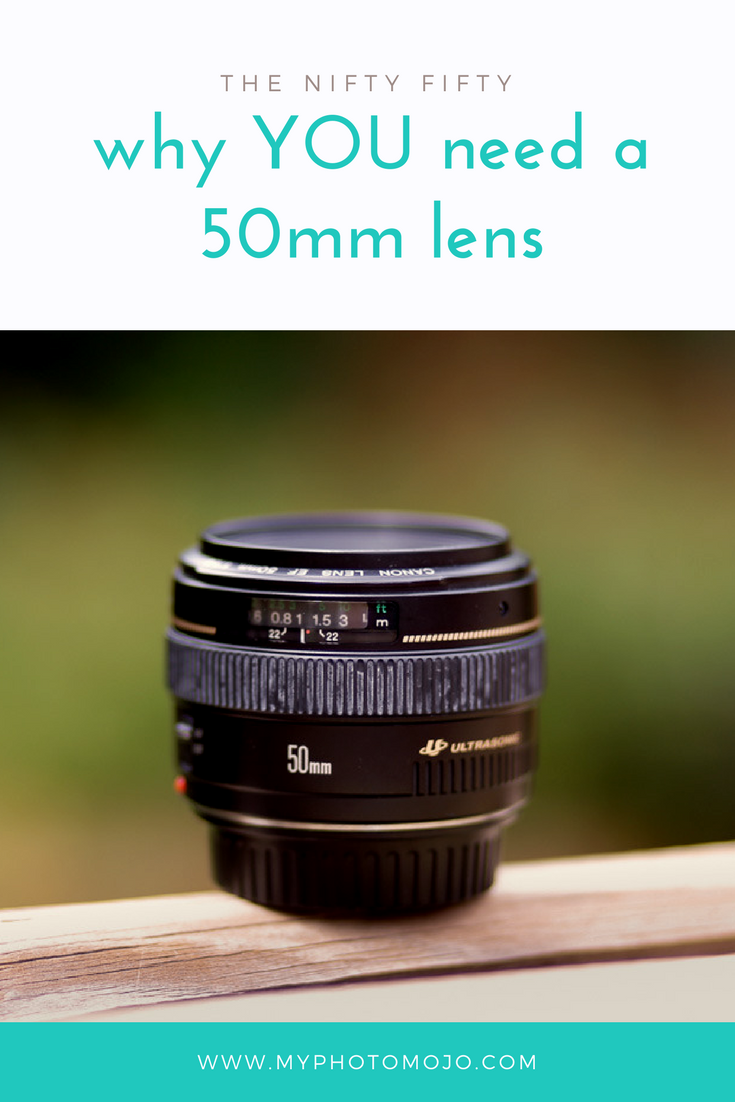
Most professionals agree, for your second lens you can’t go past a 50mm prime lens.

Lenses come as either a zoom lens or prime lens which has a fixed focal length, why would a photographer choose a fix over the ease of a zoom lens? Prime lenses are naturally simpler in design, have less moving parts and therefore generally have better image quality as a result, particularly at the budget end of the lens spectrum.

With all the choices out there; wide-­angle, telephoto, macro, why does the 50mm get such a strong vote?  There’s a few good reasons.

Shallow depth of field

When you see portraits with gorgeous soft burred backgrounds behind the subject, it’s called a shallow depth of field. One of the key ways to achieve this is to use the lowest aperture or f-­stop you can. Most kit lenses go down to f/3.5 at the most and truly shallow depth of field starts at around f/2.8. The nifty fifty will go down to f/1.8 for around $150 AUD.

Great for low light

Another bonus of being able to shoot at low apertures is you can shoot in much darker places than before. Shooting your family with natural light indoors will be easier and brighter with the nifty fifty.

It’s versatile

Some lenses are perfect for one or two uses such as landscapes, portraits, wildlife or sport but aren’t as good at anything. The Fifty does a great job at all of these. As an added bonus it’s small, lightweight and fast at focusing, making it a really nice lens to use

Value for money.

It’s close to what we naturally see. A 50mm is the closest to capturing what your eye sees naturally. Your images will naturally look like you see.

Now you know what to put on your christmas or birthday list!

Your welcome 🙂
 

7 tips to take your best family photo ever!

7 tips to take your best family photo ever!

7 tips to take your best family photo ever!

Creating a gorgeous gift for Nanna or personalising your Christmas cards and gift tags with a family photo? Is this the only time of year everyone is together to capture a family photo?

Set yourself up for your best family portrait yet with these simple tips – and most of them come down to where to take the photo.

Bright sun

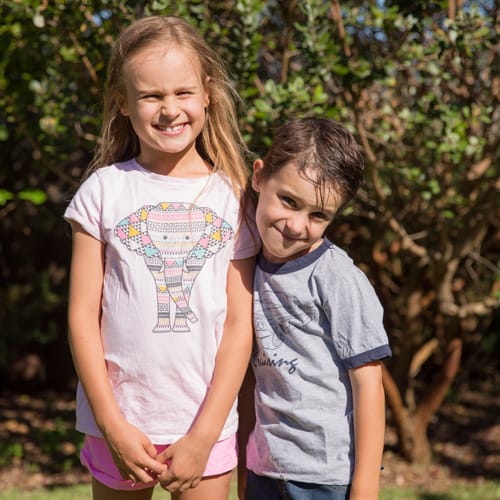
It’s tempting to get everyone outside in full sun to take the picture, it’s bright and there’s plenty of space. However, if you have everyone facing the sun, they will all be squinting and not looking their best. You might not even be able see their eyes at all, and the eyes key for a great portrait.

learn photography
learn childrens photography

Patchy light

So now you move under a tree for a little shade, or perhaps under the front veranda. This might be perfect, but take a close look first. You want to make sure everyone is in the same light and no one has a bright patch of sun on their face.

Too dark.

So what about inside? This can work for small groups if you can find a place in a big bright room with a big window. But most of the time, it will be too dark, you’ll struggle to get everyone in focus or the image might end up dark and noisy (that’s that speckled grainy look). Your shutter speed will be slow so if your kids move fast they’ll end up with blurry arms legs and maybe even faces.

learn photography
learn photography

Open shade for the win!

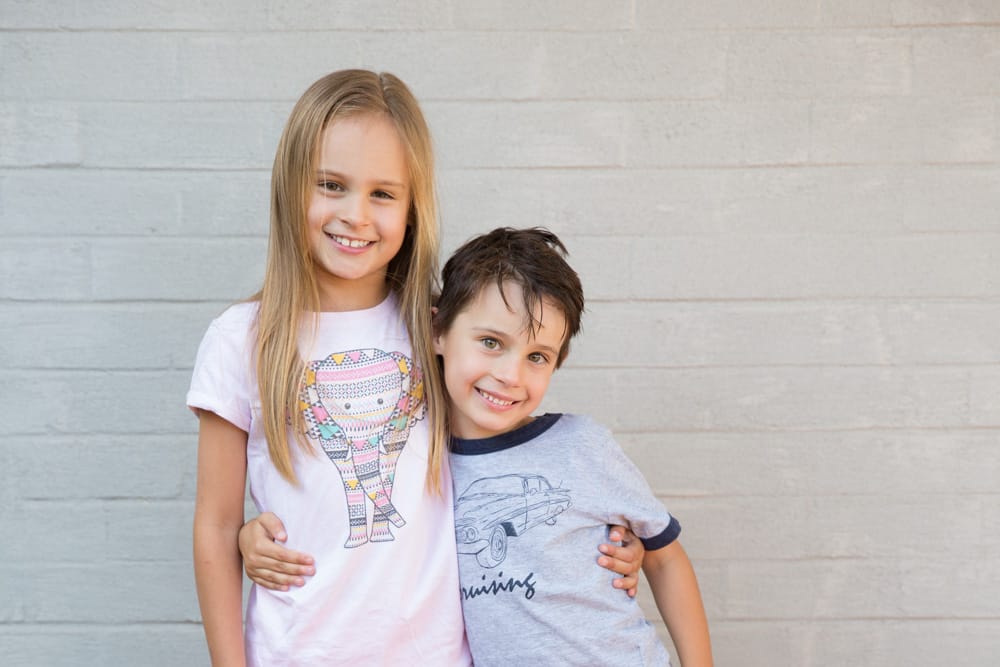
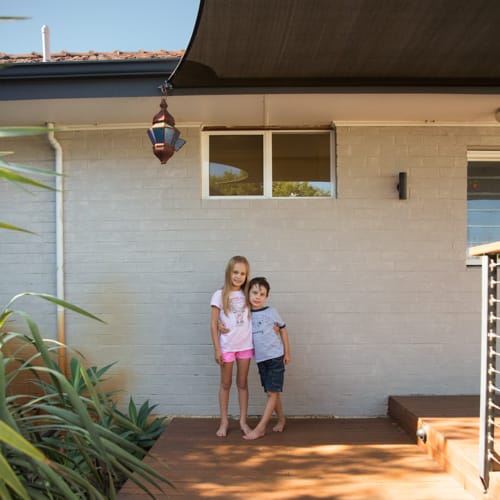
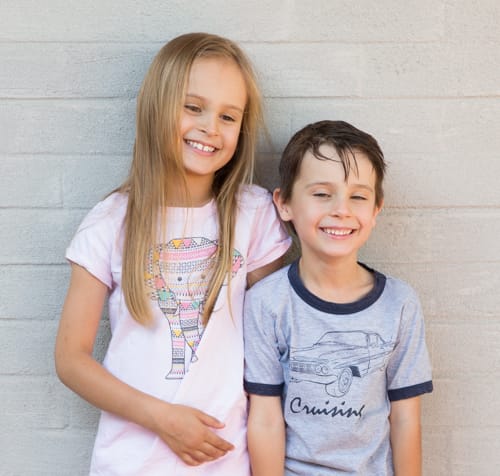
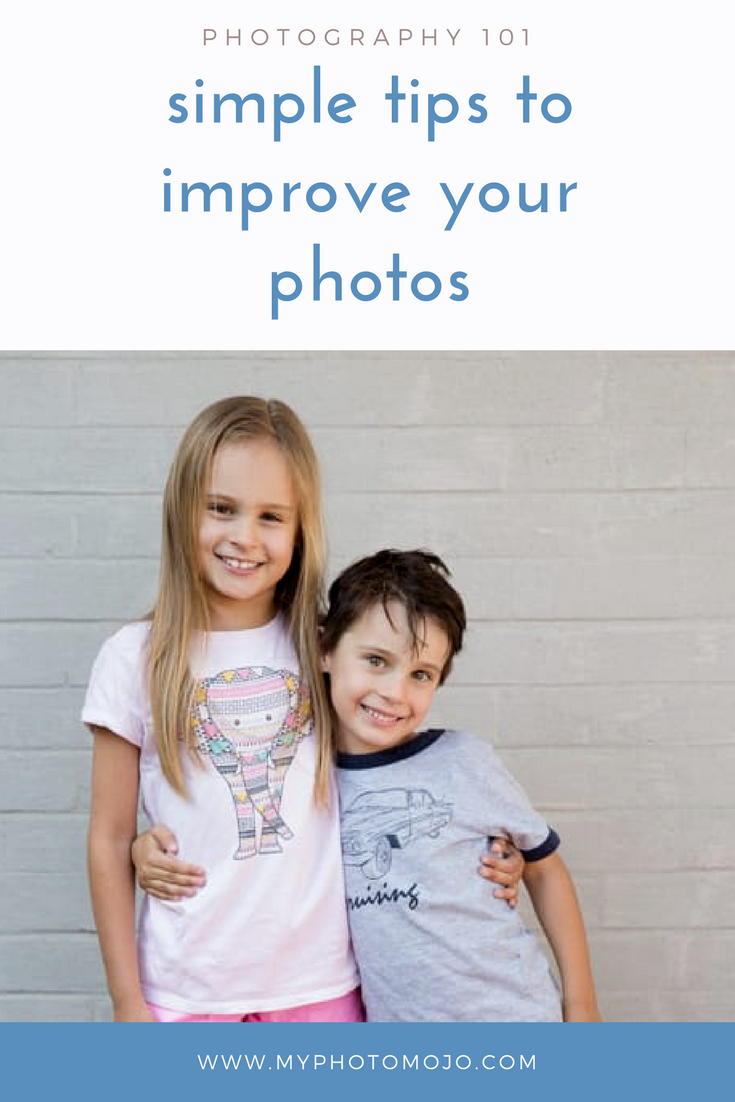
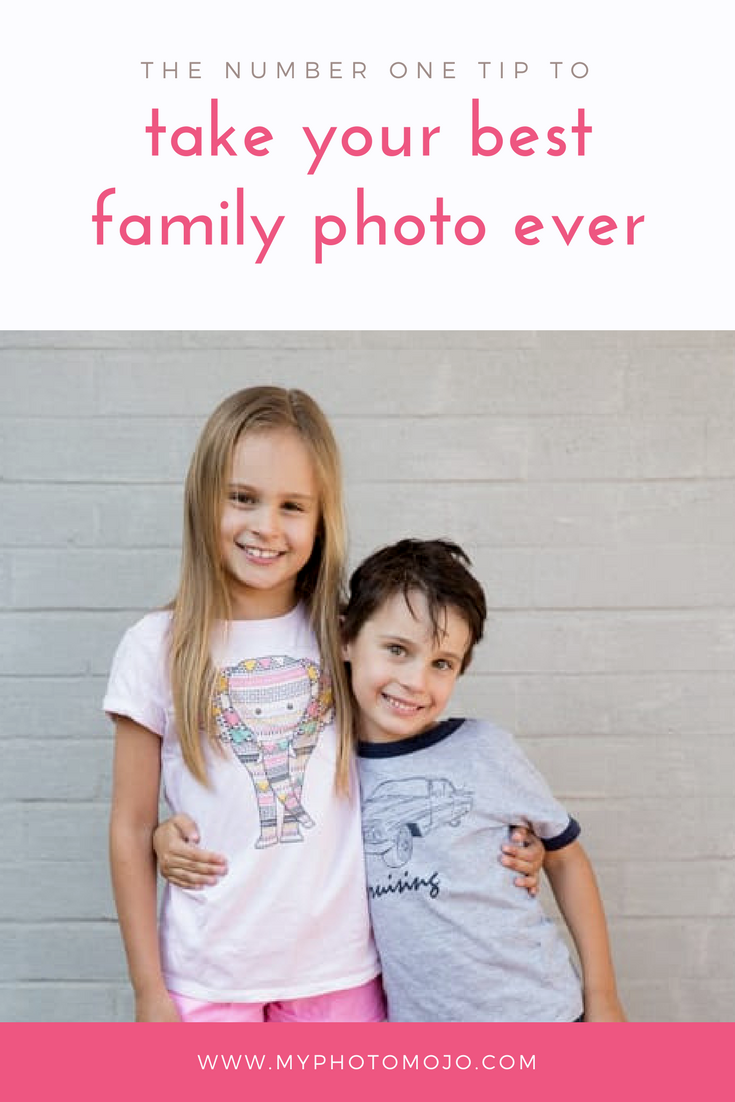
The best location will be a place with nice even shade that’s not too far from the sun, what we call “open shade”. Think a wall or garage door on the shady side of the house, under the front patio or even open the front door and stand the kids on the door frame.  Take a look at the pull back from this shot below to get an idea of where to find this lovely light!

Messy and cluttered backgrounds

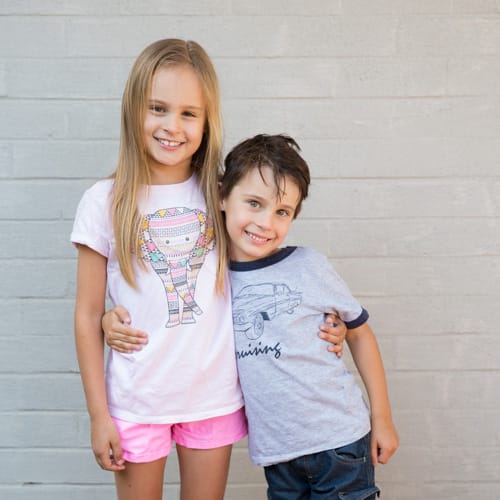
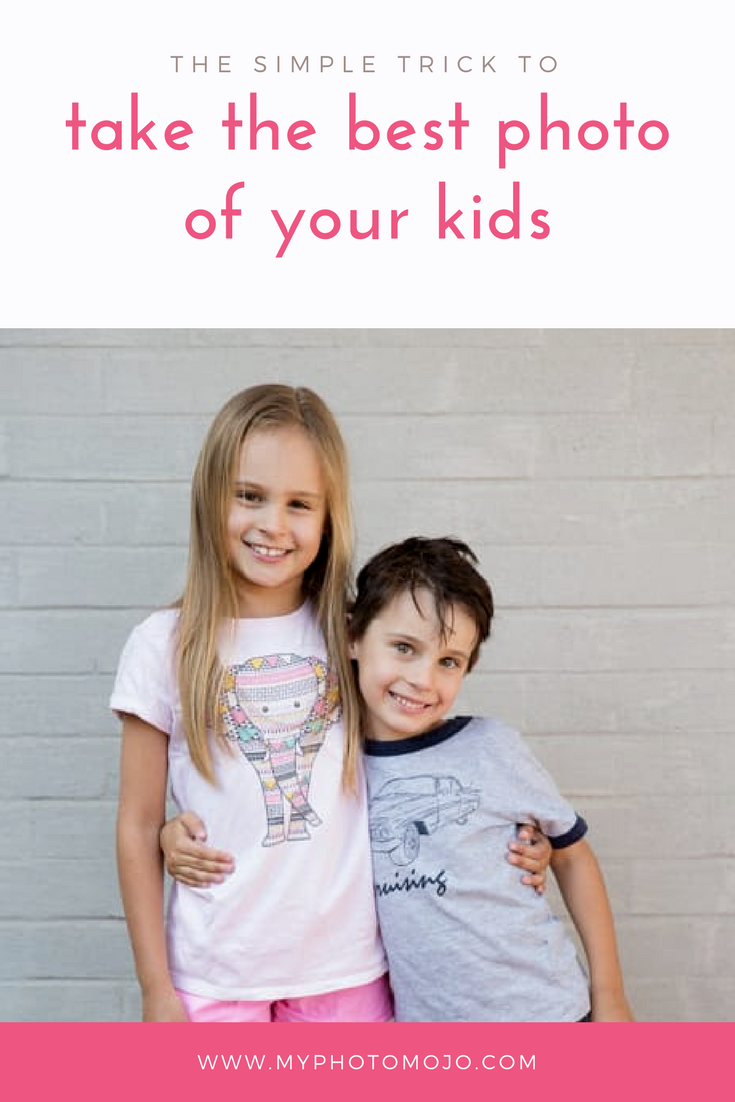
Once you’ve chosen the perfect spot, take a quick look around, is there anything in the background that could be removed or cropped out? Common things are the garden hose, kids or pets toys, old ratty (or even nice) garden furniture. Taking a minute to slide these out of the way will make your family stand out.  In this image I’ve simply cropped in to eliminate the clutter 🙂

photography course
photography course

Don’t take just one

Perhaps we are stating the obvious here, but taking the family portrait is a good time for what professionals call “spray and pray” Put the camera in burst mode or rapid fire and hold down the shutter button and take a bunch of shots. Then pause, do something silly and do it again. You’ve got a better chance of one shot with no blinks or funny faces.

Sunglasses, hats & phones in pockets

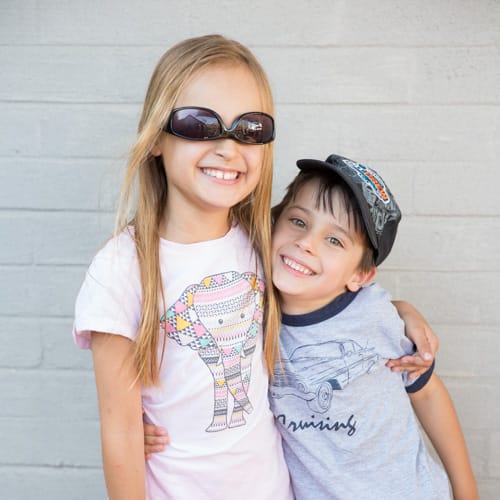
Ok so this is more for the adults in the shot, my little rascals look kinda cute (styling was 100% them)  A quick check to make sure sunglasses are off and those giant phones aren’t in pockets is a must. If you’re taking the shot outside and someone has transition lenses – have them keep them in the dark and put them on at the very last minute so they don’t go dark. To my mind, your eyes are  almost always THE most important part of the portrait.

Happy shooting!

learn photography